The Interior Blog
How to Repot Indoor Plants Without Making a Mess
Have you ever avoided repotting your indoor plants because you feared the mess — the soil spills, the broken roots, the post-repotting wilting? You’re not alone. Repotting is one of the most essential yet intimidating aspects of indoor plant care.
The good news? With the right tools, techniques, and timing, you can transform repotting from a dreaded task into a clean, efficient, and rewarding ritual. This repotting guide will help you care for your plants confidently while keeping your home tidy, whether you’re a beginner or an experienced plant parent.
Understanding the Core: Why Repotting Matters
Repotting isn’t just about aesthetics or giving your plants a new container. It’s a vital step in promoting healthy root growth, preventing disease, and replenishing depleted nutrients. Over time, soil compacts and loses its structure, which affects drainage and oxygen flow — both of which are crucial to a thriving indoor plant.
When should you repot?
- Roots growing out of the drainage hole
- Soil drying out too quickly
- Plant looks top-heavy or stunted
- White crust (salt buildup) on soil surface
- It’s been over a year since the last repot
Regular repotting ensures your plant isn’t “pot-bound” — a condition where roots wrap tightly around themselves, choking the plant. For indoor plant care to truly succeed, you must treat repotting as a routine check-up rather than a last resort.
Quick Guide: Repotting at a Glance
- Choose the right pot — 1–2 inches larger in diameter than the current one
- Water before repotting — moist roots are easier to handle
- Loosen roots gently — trim if necessary
- Place the plant at the same depth — avoid burying the crown
- Fill and firm soil — no air pockets
- Water thoroughly — let it drain completely
- Place in indirect light — give time to recover
Step-by-Step Guide: Clean and Confident Repotting
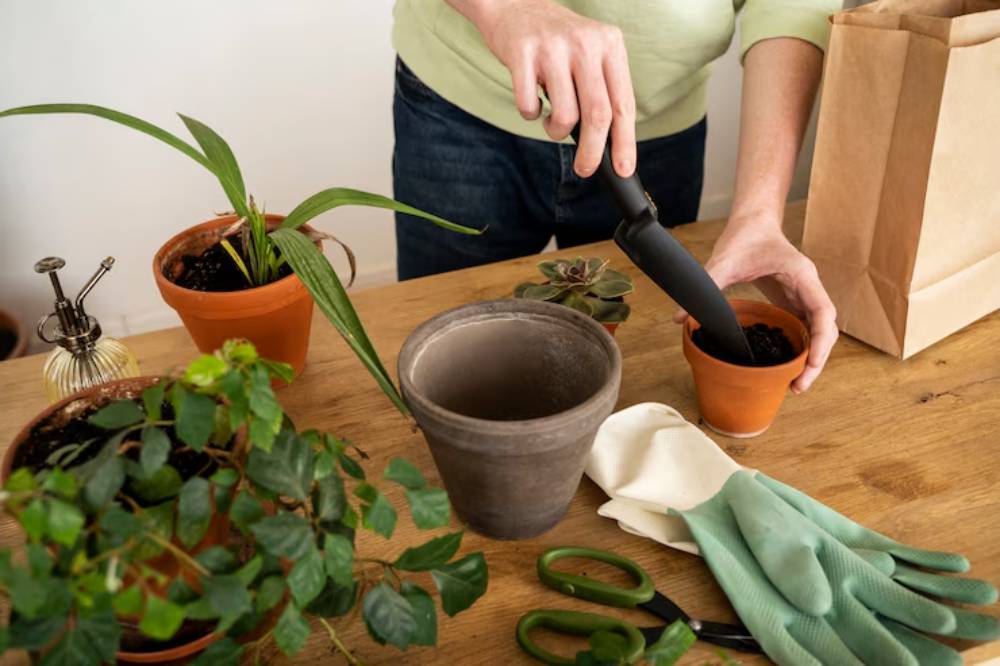
1. Set up a repotting station
Lay down old newspaper, a tarp, or use a bathtub or shower stall to contain mess.
Keep all tools within reach:
- Gloves
- Trowel
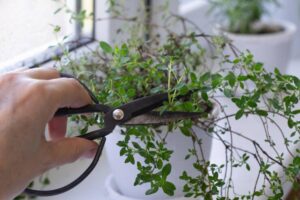
- Scissors or pruning shears
- Watering can
- New pot and fresh soil
Pro Tip: Use a tray or baking sheet to catch any spilled soil if working indoors.
2. Choose the right new pot
Go only slightly larger — no more than 2 inches wider than the current pot. Too big, and water will pool, risking root rot.
- Ensure drainage holes are present
- Terracotta is breathable; plastic retains moisture longer
Important Note: Always clean the new pot before use to remove potential bacteria or salts.
3. Prepare the soil and pot
Fill the bottom of the pot with a layer of soil — just enough so the plant sits at the same depth it did before.
Match the soil type to your plant:
- Cactus & succulents: fast-draining mix
- Tropical plants: airy, well-aerated mix
- Ferns: moisture-retaining but loose soil
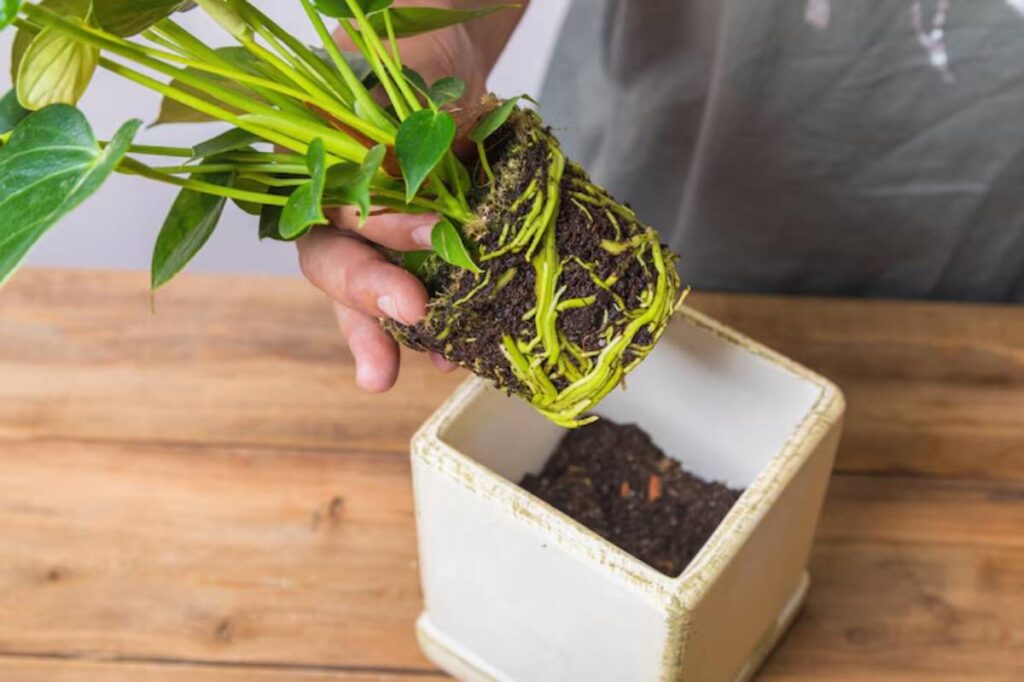
4. Remove the plant gently
Water 1–2 days prior to ease removal. Tap around the sides or squeeze soft pots. If stubborn, run a butter knife around the edge.
Hold the plant at the base and gently lift — avoid pulling from the stem.
5. Inspect and trim roots
Look for signs of rot (black, mushy roots) or circling roots. Use sterilised shears to trim away damaged areas.
Pro Tip: Lightly loosen compacted roots so they can expand into their new environment.
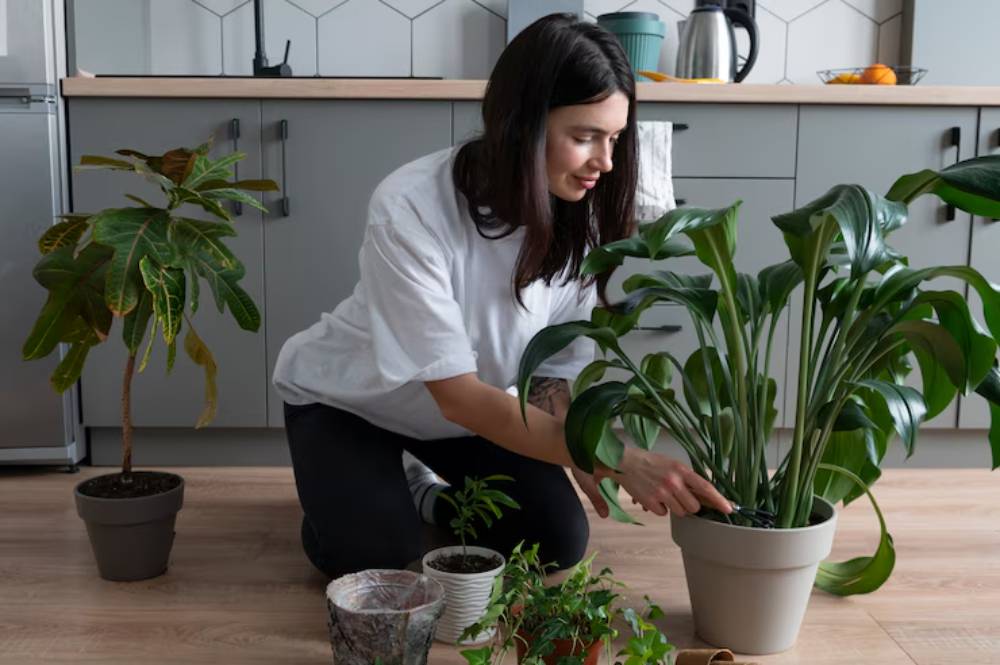
6. Position and fill
Place your plant in the centre of the new pot. Backfill with soil, tamping gently as you go to eliminate air pockets.
Keep the root crown level with the pot rim.
7. Water thoroughly
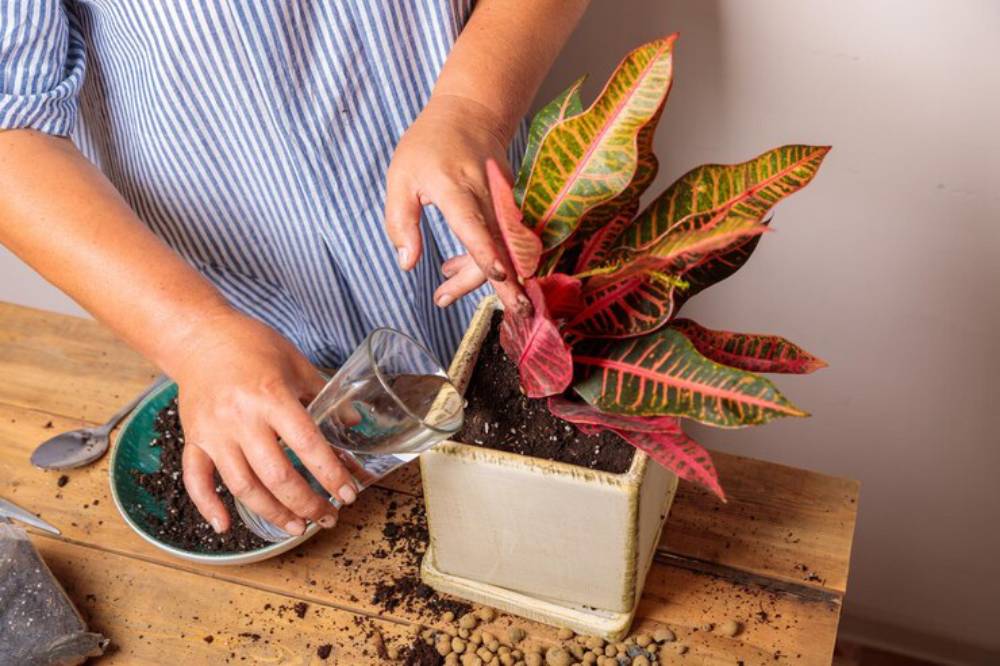
Soak the soil until water drains freely from the bottom. This settles the soil and helps roots establish.
Important Note: Avoid fertilising right after repotting. Wait 3–4 weeks to reduce stress.
8. Post-repot care
Place the plant in a bright but indirect location.
Monitor over the next week:
- Yellowing may occur temporarily
- Skip watering again until the top 1–2 inches of soil are dry
If you’re wondering about light conditions post-repotting, refer to how to choose the right indoor plants for your light conditions to help your plants adjust seamlessly.
Best Practices & Additional Insights
- Be mindful of plant personalities: Some species, like rubber plants or ficus, dislike being disturbed and may drop leaves. Others, like pothos or spider plants, adapt quickly.
- Real-world tip: If you’re in a flat or studio, try repotting in your bathtub for mess-free cleanup.
- Mini analogy: Think of repotting like moving house. You need the right-sized space, fresh supplies, and a gentle settling-in period. It’s a change, but it can spark new growth.
- Use smart storage: Keep a compact “repotting kit” under your sink or in a closet for quick and stress-free sessions.
FAQs
1. How often should I repot my indoor plants?
Generally, every 12–18 months. Fast-growing or young plants may need it more often.
2. Can I repot in winter?
It’s best to wait for spring when growth resumes. Winter repotting can shock dormant plants.
3. Do all plants need a bigger pot every time?
Not always. Some benefit from staying slightly root-bound — like peace lilies or orchids.
4. What’s the best soil for indoor plants?
It depends on the species. Use cactus mix for succulents, peat-based mix for tropicals, and add perlite for aeration.
5. What should I do if I see bugs in the old soil?
Dispose of it properly and disinfect the pot. Consider neem oil spray for prevention.
Conclusion
Repotting doesn’t have to be messy or intimidating. With a little preparation and the right method, it becomes a clean, stress-free part of your indoor plant care routine. Your plants will thank you with stronger roots, fresher foliage, and a longer lifespan.
Ready to repot? Gather your tools, take a deep breath, and give your green friends the room they need to thrive.
For additional support with indoor cleanliness, explore how to clean and dust your indoor plants properly — perfect to pair with a fresh repot.
Found this guide helpful? Share it, bookmark it, or pass it on to your fellow plant lovers — and watch your indoor jungle thrive, mess-free.


YOU MAY LIKE