The Interior Blog
Layering Heights: How to Create Visual Balance with Plants
You love your plants — the glossy leaves, the sculptural stems, the splash of green they add to every room. But when it comes to styling them, something feels… off. Despite your best efforts, your plant display either looks flat, cluttered, or a little too chaotic. Sound familiar?
The missing piece might be height layering. Just like in interior design, layering your plants at varying heights is the secret to creating balance, movement, and depth. It’s what turns a jumble of pots into a thoughtfully curated display. Whether you’re arranging a corner jungle, a floating shelf, or a windowsill vignette, using plant height layering can completely transform your space.
In this guide, we’ll show you exactly how to create visual plant styling that feels natural yet intentional. From understanding focal points to choosing the right containers and tools, you’ll learn how to style your indoor greenery like a pro, without the overwhelm.
Why plant height layering makes all the difference
1. It mimics nature
In the wild, plants don’t grow in straight lines or uniform heights. Trees tower above, shrubs spread wide, and groundcovers sprawl low. By mimicking this natural layering, your indoor display feels more grounded and immersive.
2. It adds visual rhythm
When everything’s at the same height, your eyes get bored. Layering creates an undulating line that draws the gaze up, down, and around — just like a great piece of art or music.
3. It makes small spaces feel fuller (not cluttered)
Strategically using height allows you to display more plants in less space. By stacking vertically instead of spreading out horizontally, you maximise every inch while keeping things airy.
4. It brings harmony to mixed arrangements
Whether you’re grouping three plants or twelve, a balanced height arrangement prevents any one plant from feeling out of place or overpowering.
Guide to styling plants with height layering
Let’s break down the process of creating a balanced, beautiful layered look.
Understand the three height tiers
Every plant display — from a shelf to a corner cluster — benefits from a combination of these three height zones:
1. Tall (over 60cm)
- These are your statement plants — the stars of the show.
- Think: fiddle leaf fig, monstera deliciosa, rubber plant, areca palm.
2. Medium (30–60cm)
- These act as the connectors between your tallest and smallest.
- Think: calathea, peace lily, snake plant, peperomia.
3. Small (under 30cm)
- These are the fillers — they soften edges and create a finishing touch.
- Think: succulents, fittonia, baby ferns, air plants.
By mixing all three, you create a natural slope or “visual triangle” that guides the eye.
Choose the right setting
Not every space is built the same, and your plant display should suit its environment.
In corners
- Place the tallest plant in the corner to anchor the arrangement.
- Use medium and small plants to cascade outwards on stands, crates, or plant ladders.
On shelves
- Stagger heights across the length of the shelf.
- Place taller plants near ends or in odd-numbered groupings.
- Use trailing plants to bring downward flow from the top.
On sideboards or windowsills
- Create height by using risers, books, or stacking boxes for shorter plants.
- Avoid blocking windows — angle tall plants or use window-adjacent floor space instead.
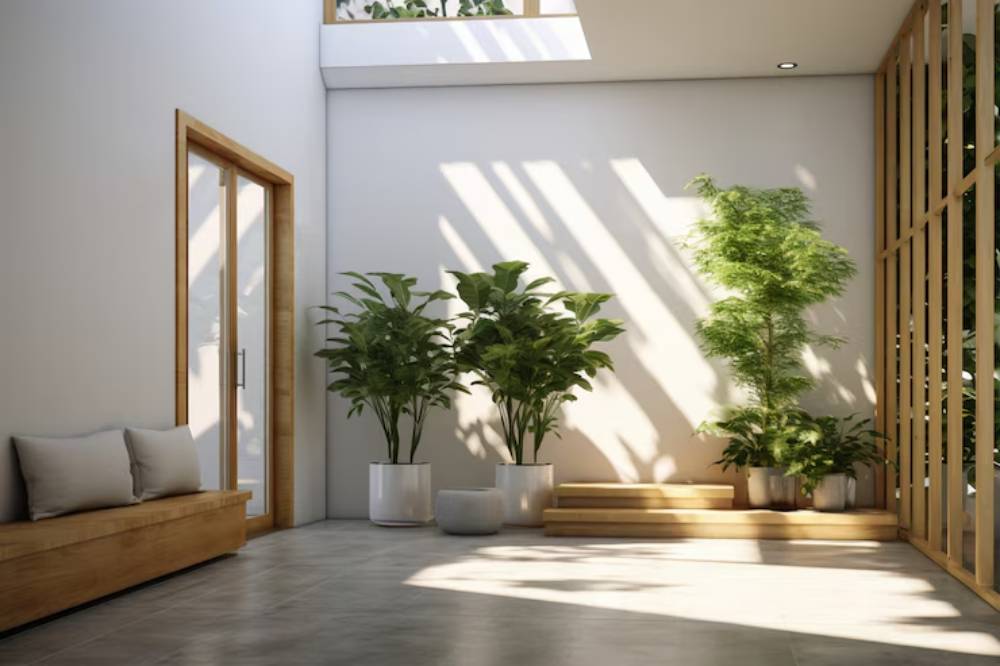
On the floor
- Use a mix of tall plants with varied leaf shapes.
- Elevate smaller plants using compact plant stands to create vertical rhythm.
Need help choosing the right stand? Explore our guide on the best plant stands for small spaces for smart, stylish elevation options.
Use stands, risers, and props
Not all your plants will magically fit into the perfect tier. That’s where props come in.
Simple ways to add height:
- Wooden crates or stacked books
- Inverted terracotta pots
- Short stools or benches
- Concrete or ceramic risers
- Wire basket stands
Keep the material consistent (wood, metal, ceramic) for a cohesive look.
Mix plant textures and leaf shapes
Height alone isn’t enough. You also need variety in form and texture for depth and interest.
Try mixing:
- Broad-leafed plants (rubber plants, peace lilies)
- Narrow or spiky plants (snake plant, dracaena)
- Frilly or delicate leaves (ferns, asparagus sprengeri)
- Trailing foliage (pothos, philodendron, string of pearls)
This combination keeps your display engaging and multidimensional.
Create focal points
Just like with furniture or artwork, your plant display should have a visual anchor — one element that draws the eye first.
- Use a tall plant in an eye-catching pot as your centrepiece.
- Surround it with smaller, supporting plants that echo or contrast in colour and shape.
- Add decorative accents like a sculptural pot, woven basket, or candle for personality.
For more tips on visually impactful vignettes, see styling floating shelves with indoor plants.
Layering examples: inspiration by room
Let’s explore how height layering works across different rooms and surfaces.
Living Room Jungle Corner
Tall: Monstera or bird of paradise in a woven basket.
Medium: ZZ plant on a wooden stool.
Small: Fittonia and trailing pothos on a low-tier stand.
Extras: Woven tray, rattan accents, floor lamp.
Creates a lush, relaxing nook with floor-to-ceiling visual interest.
Bedroom Plant Shelf
Tall: Snake plant in a slim pot on one end.
Medium: Peperomia or calathea in the centre.
Small: Air plants or tiny succulents scattered as accents.
Extras: Books, candles, neutral planters.
Soothing and space-efficient — perfect for small nightstands or above-bed displays.
Kitchen Herb Tiered Stand

Tall: Rosemary or basil in taller pots at the back.
Medium: Thyme, sage, mint.
Small: Potted microgreens or chives.
Extras: Terracotta pots, chalkboard labels, wooden tiered stand.
Functional and decorative — your spice rack just got greener.
Bathroom Spa Shelf
Tall: Spider plant hanging overhead.
Medium: Boston fern or calathea. Small: Fittonia or aloe in ceramic pots.
Extras: Rolled towels, bamboo trays, scented candles.
Transforms your bathroom into a calming green retreat.
Common layering mistakes to avoid
Even the best design intentions can go wrong.
Here’s what to watch for:
- Too many tall plants: Dominates the space and blocks light.
- Identical plant heights: Makes the arrangement look flat.
- Lack of breathing room: Overcrowding causes leaf damage and poor airflow.
- Mismatch of pots: Use pots that harmonise in colour, texture, or material.
- No focal point: Without a centrepiece, the arrangement can feel scattered.
Maintenance matters: keep your layers healthy
Styling is just step one — maintaining a healthy layered setup is the real game-changer.
Top care tips:
- Rotate plants regularly for even light exposure.
- Dust leaves gently to keep them vibrant and photosynthesising.
- Water based on plant needs, not shelf position — taller tiers might dry out faster.
- Check humidity levels, especially if layering different species together.
- Prune trailing plants to keep them from tangling or overwhelming smaller neighbours.
Conclusion: Turn your plant styling into a living art form

Layering heights is more than just a styling trick — it’s a way to give your indoor plants the stage they deserve. By combining tall statement greens with mid-sized foliage and small accents, you create a rhythm that pleases the eye, calms the mind, and makes every room feel alive.
Whether you’re working with one shelf or an entire room, understanding and applying height variation transforms your space from “just a few plants” into a harmonious green sanctuary. You don’t need to be a designer — just a plant lover with a little creativity and the right approach.
Ready to try it yourself? Pick one area of your home — a shelf, a corner, a windowsill — and experiment with three plants of varying heights. Snap a photo and share your transformation with us. Let’s bring beauty and balance to our spaces, one layer at a time.


YOU MAY LIKE